Introduction
Restoring antique chandeliers is more than a project—it’s a tribute to the elegance and history embedded in these timeless pieces. These fixtures, often adorned with intricate designs and luxurious materials, have illuminated spaces for generations. As they age, they accumulate wear and damage, which can diminish their beauty and functionality. The restoration process not only revives their former splendor but also preserves a piece of history for future enjoyment.
Why restore antique chandeliers? The answer lies in their unique charm and historical value. Antique chandeliers were crafted with exceptional artistry and attention to detail. Each piece carries a story and reflects the aesthetic tastes of its era. Restoring them allows you to maintain their historical integrity while addressing any issues caused by aging. This process ensures that these beautiful artifacts continue to grace your home with their original elegance.
The charm and value of restoring vintage lighting go beyond mere aesthetics. An antique chandelier can transform a room, providing a focal point that adds sophistication and character. By carefully restoring these pieces, you honor the craftsmanship of past artisans and contribute to the preservation of cultural heritage. Whether you’re an enthusiast of historical decor or simply appreciate fine craftsmanship, restoring an antique chandelier offers a meaningful way to connect with the past and enhance your living space.
Understanding Your Antique Chandelier
Before you embark on restoring an antique chandelier, it’s crucial to understand its unique characteristics and historical context. Identifying different types of antique chandeliers will guide you in choosing the right restoration techniques and materials. Chandeliers can be categorized into several styles, each with distinctive features.
For instance, crystal chandeliers are known for their sparkling prisms and intricate arrangements, which require meticulous cleaning and repair. Bronze chandeliers often feature elaborate metalwork and ornate designs that need careful restoration to maintain their original luster. Glass chandeliers, with their delicate glass components, necessitate gentle handling and precise repairs.
Understanding the historical significance and craftsmanship of your chandelier is equally important. Antique chandeliers span various eras, such as Victorian, Art Nouveau, and Art Deco, each with its unique style and manufacturing techniques. Victorian chandeliers are celebrated for their opulence and intricate detailing, while Art Deco chandeliers are known for their geometric shapes and streamlined designs. Recognizing these historical elements helps you appreciate the craftsmanship and make informed decisions during the restoration process.
This knowledge not only enhances your understanding of the chandelier but also ensures that the restoration preserves its historical and aesthetic value.

Preparing for the Restoration Process
Before you start restoring your antique chandelier, proper preparation is key to ensuring a successful outcome. This involves several crucial steps to assess the condition, gather necessary tools, and set up a safe workspace.
Assessing the condition of your chandelier is the first step in the preparation process. Carefully inspect the chandelier for any signs of damage, such as broken crystals, loose fittings, or tarnished metal. Document these issues with photos and notes to help guide your restoration efforts. Understanding the extent of the damage will help you determine the appropriate repair techniques and materials needed.
Gathering necessary tools and materials is essential for a smooth restoration process. Depending on the type of chandelier, you may need a variety of tools, including screwdrivers, pliers, wire cutters, and a soft cloth for cleaning. Additionally, gather any replacement parts, such as crystals or wiring, that may be needed. Ensuring you have all the required tools and materials on hand will prevent delays and ensure a more efficient restoration process.
Safety precautions and workspace preparation are critical to prevent accidents and damage during the restoration. Choose a well-lit, spacious area to work, and cover the workspace with a protective cloth to catch any debris. Wear safety goggles and gloves to protect yourself from dust and sharp edges. If the chandelier is heavy or requires disassembly, consider enlisting a helper to assist with lifting and handling.
Taking these preparatory steps will set the foundation for a successful restoration project, allowing you to focus on the intricate details of reviving your antique chandelier.
Step-by-Step Restoration Guide
Restoring an antique chandelier requires a systematic approach to ensure that each aspect is addressed properly. This guide will walk you through the essential steps involved in the restoration process, from disassembly to final touches.
1. Disassembling the Chandelier
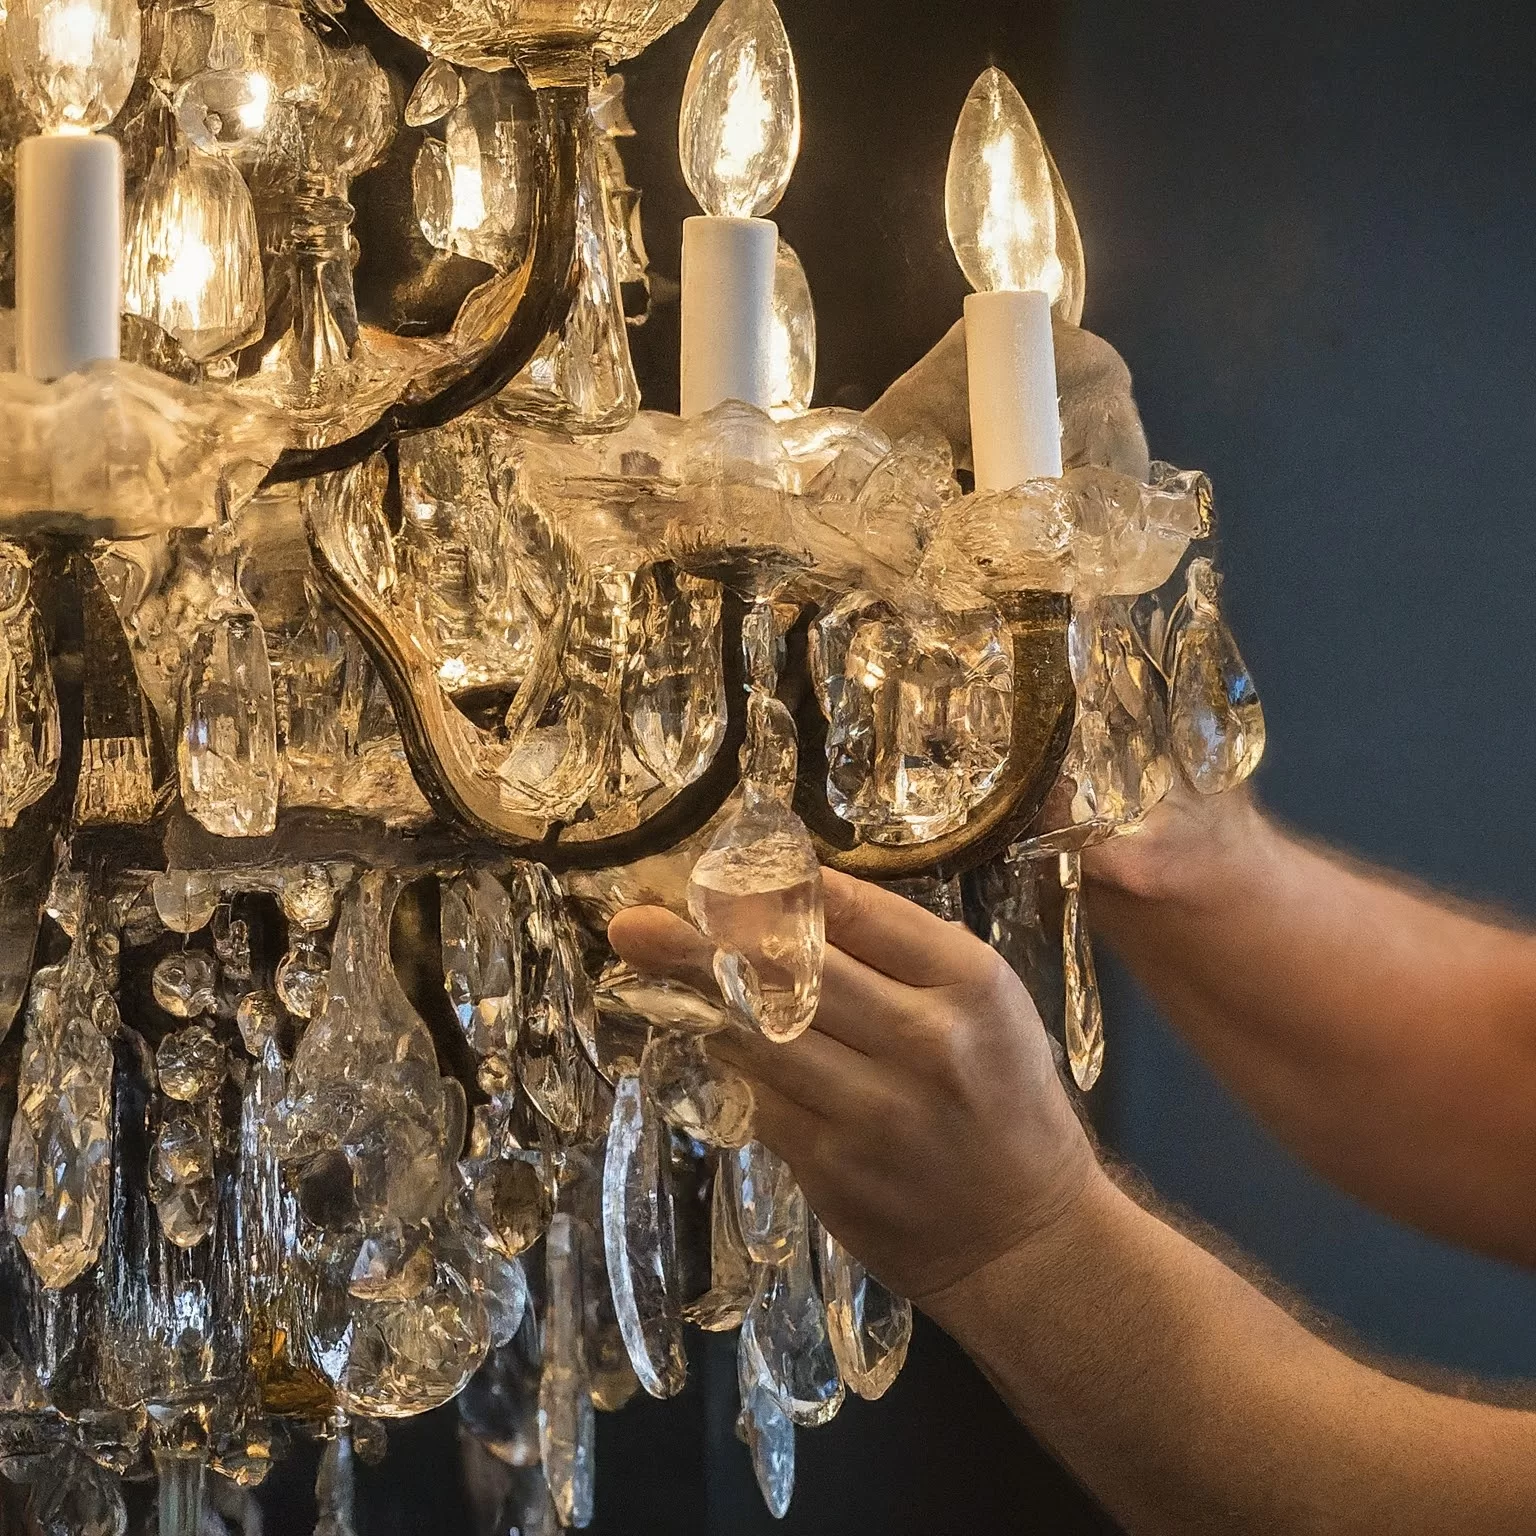
- Begin by carefully removing the chandelier from its mounting. If it is heavy or awkward, enlist the help of a partner to avoid accidents. Remove any bulbs, crystals, or detachable components, noting their placement for reassembly later. Carefully disassemble the main parts of the chandelier, such as the arms and the central body, using appropriate tools. Store all parts in labeled containers to prevent loss or confusion during reassembly.
2. Cleaning and Removing Old Finishes
- Thorough cleaning is essential to remove accumulated dust, grime, and old finishes. Use a soft cloth or a duster to gently wipe down all surfaces. For crystal chandeliers, clean each crystal individually with a solution of mild soap and water, followed by a rinse with clean water. Avoid using abrasive cleaners that could damage the finish. For metal components, remove tarnish using a metal polish appropriate for the material, and be sure to follow the manufacturer’s instructions.
3. Repairing or Replacing Broken Parts
- Inspect each component for damage and assess whether repairs or replacements are necessary. Repair any broken or cracked pieces using suitable adhesives or soldering techniques. For parts that are beyond repair, such as cracked crystals or damaged metalwork, source replacements from reputable suppliers. Ensure that any replacement parts match the original design to maintain the chandelier’s authenticity.
4. Rewiring and Electrical Components
- If the chandelier’s wiring is damaged or outdated, it’s crucial to replace it to ensure safety. Carefully remove the old wiring and install new, high-quality electrical components. Follow electrical codes and safety standards, and consider consulting a professional electrician if you’re unsure about any aspect of the wiring process. Proper rewiring will ensure that the chandelier functions safely and efficiently.
5. Reassembly and Final Touches
- Once all components are cleaned, repaired, and rewired, begin reassembling the chandelier. Refer to the notes and photos taken during disassembly to ensure accurate placement of each part. Carefully reattach crystals, bulbs, and any decorative elements. Once reassembled, test the chandelier to ensure it operates correctly and safely. Make any necessary adjustments to align and balance the chandelier, ensuring it hangs straight and secure.
By following these steps, you will restore your antique chandelier to its original splendor, preserving its historical and aesthetic value.
Preserving Your Restored Chandelier
Once your antique chandelier has been restored, maintaining its beauty and functionality requires ongoing care and attention. Proper preservation techniques will help ensure that your chandelier remains a stunning focal point for years to come.
Proper maintenance techniques are crucial for the longevity of your restored chandelier. Regularly dust the chandelier to prevent the buildup of grime, which can dull its finish. Use a soft, lint-free cloth to gently wipe down the surfaces and remove any dust or cobwebs. For crystal chandeliers, carefully clean the crystals with a mild soap solution and a soft cloth to maintain their sparkle. Avoid using abrasive cleaners or scrubbing too vigorously, as this can damage the crystals or the finish.
In addition to routine cleaning, inspect the chandelier periodically for any signs of wear or damage. Check the electrical components and wiring to ensure they remain in good condition. If you notice any issues, such as flickering lights or loose connections, address them promptly to prevent further damage.
Storage tips for long-term preservation are also important if the chandelier needs to be moved or stored temporarily. When storing the chandelier, disassemble it carefully and wrap each component in protective material, such as bubble wrap or soft cloth. Store the parts in a clean, dry place, away from direct sunlight and humidity, which can cause damage. If possible, keep the chandelier in its original packaging or a sturdy, protective box.
By following these maintenance and storage tips, you can help preserve the beauty and functionality of your antique chandelier, ensuring it remains a cherished piece in your home.
Hiring a Professional vs. DIY Restoration
Deciding whether to restore your antique chandelier yourself or hire a professional depends on various factors, including the complexity of the restoration, your expertise, and the value of the chandelier.
When to seek professional help is a crucial consideration. If your chandelier is particularly intricate, valuable, or requires extensive electrical work, a professional restorer may be the best choice. Professionals have the expertise and specialized tools to handle complex repairs, ensure safety, and maintain the chandelier’s historical integrity. They can also provide valuable insights and access to high-quality replacement parts that may be difficult to source independently.
Pros and cons of DIY restoration should also be evaluated. A DIY approach can be cost-effective and allow you to personally oversee every detail of the restoration. It can be a rewarding experience if you have the necessary skills and tools. However, DIY restoration comes with risks, such as potential damage to delicate parts or improper electrical repairs. If you’re unsure about any aspect of the restoration, it may be worth investing in professional assistance to avoid costly mistakes.
Ultimately, whether you choose to tackle the restoration yourself or hire a professional depends on your comfort level with the process, the condition of the chandelier, and your budget. Evaluating these factors will help you make an informed decision and ensure a successful restoration. You can also visit our Home Interior website for inspiration, design tips, and expert advice on enhancing your living space at VS Home Interior
Case Studies and Success Stories
Examining case studies and success stories of restored antique chandeliers provides valuable insights and inspiration for your own restoration project. These examples showcase the transformative impact of careful restoration and highlight the beauty and craftsmanship of antique chandeliers.
Examples of successfully restored chandeliers often illustrate the range of improvements that can be achieved through restoration. For instance, a Victorian-era chandelier that had fallen into disrepair might be revitalized with a thorough cleaning, repair of damaged crystals, and rewiring. The result is a magnificent fixture that retains its original elegance while functioning like new. Success stories can also include more modern chandeliers that have been updated with new electrical components while preserving their classic design.
Before and after photos are particularly effective in demonstrating the dramatic changes that restoration can bring. These images provide a clear visual representation of the chandelier’s transformation, from a worn and tarnished state to a gleaming, restored piece. Comparing these photos can help you appreciate the level of detail and care involved in the restoration process, and inspire confidence in your own project.
By exploring these case studies and success stories, you gain insight into the possibilities and techniques for restoring your antique chandelier. They also serve as a testament to the enduring beauty and value of these historic lighting fixtures, encouraging you to undertake or complete your own restoration project with enthusiasm and care.
Conclusion
Restoring an antique chandelier is a rewarding endeavor that celebrates the craftsmanship and historical significance of these elegant lighting fixtures. Through the careful and meticulous process outlined in this guide—disassembling, cleaning, repairing, rewiring, and reassembling—you can breathe new life into a cherished piece of history. Each step in the restoration process is essential to ensuring that the chandelier not only looks stunning but also functions safely and efficiently.
Proper preservation techniques further enhance the longevity and beauty of your restored chandelier, allowing it to continue illuminating spaces with its timeless charm. Whether you choose to tackle the project yourself or enlist the help of a professional, understanding the importance of each stage in the restoration process will contribute to a successful outcome.
By appreciating and maintaining the intricate details of antique chandeliers, you honor their legacy and ensure that they remain treasured elements of interior design. The dedication to preserving these historical pieces not only enhances your living space but also keeps a part of history alive for future generations to enjoy.
Ready to restore your own antique chandelier or need expert assistance? Contact us today at shardalightingjunction.in to get professional help with your restoration project. Whether you’re looking for advice, skilled restoration services, or just want to share your success story, we’re here to support you every step of the way. Let’s bring your antique chandelier back to its former glory!